
In the following article, we’ll take you through a step-by-step guide to installing one of BCM’s Super Rocket Roost bat houses. If you are a new or prospective owner of one of these industrial-sized artificial bat roosts, the steps below will have you up and running in no time. For more useful information on choosing the ideal location for your bat house, see our other helpful articles, “ Choosing a Bat House Location” and “How to Install a Bat House on a Post”.
Let’s begin!
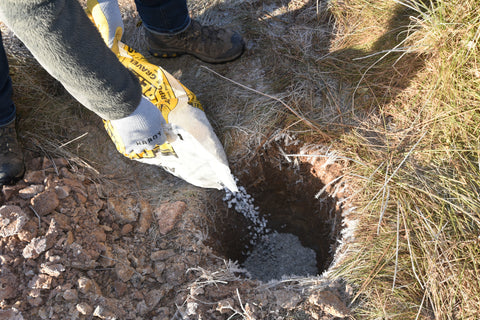
Step 1: Time to dig! You’ll want to make your post-hole approximately 36” deep and 10–12” across. Typically we recommend using a 4x6 pressure-treated post to mount your bat house, so the hole you dig will need to be wide enough to accommodate the width of the post.

Once the hole is dug, pour approximately 3-6” of all-purpose gravel into the bottom of the hole and roughly level it by spreading out the gravel. This is what your post will sit on top of, and will ultimately aid in water drainage and help prevent degradation of the post after your bat house is fully installed.
Step 2: If you’re using a post protector purchased through BCM, locate the 4 small circular indentations, roughly the size of a pencil eraser, positioned approximately 1/8” from the bottom of the post sleeve, with one located on each side. Using a small drill, perforate these small indentations. This will allow drainage of any water that might accumulate inside the post protector, and will serve as additional protection for the wooden post.
Step 3: Slide the post protector the entire way onto the 4x6 wooden post. There should not be any additional room for the post protector to slide further onto the post.
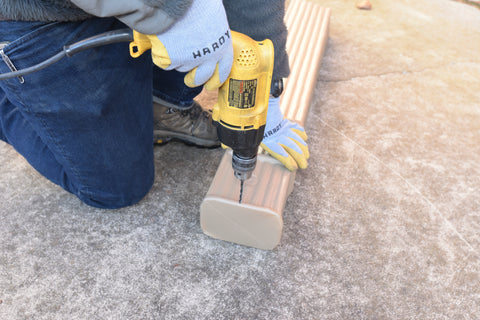
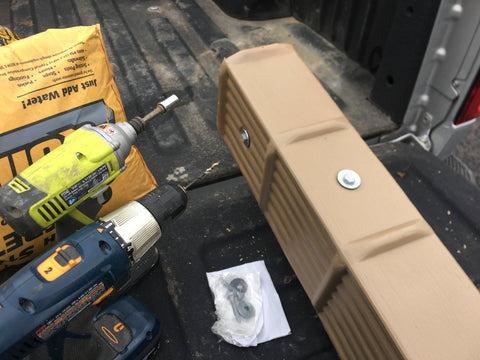
Step 4: Each post protector includes 4 sealing washers with lag screws. Locate the small non-textured circles on the outside of the post protector. There will be 2 of these total, with one beginning near the base of the post protector between the first horizontal ribbed section, and the other located on the adjacent side between the 2nd anad 3rd horizontal ribbed section.
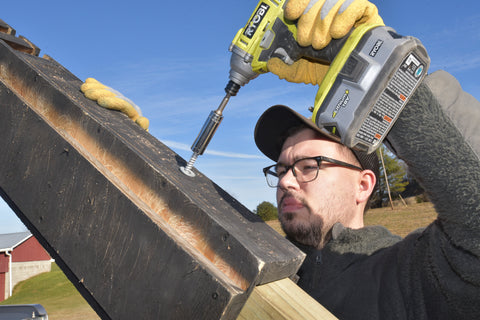
Using a 3/16” drill bit, drill a pilot hole for the lag screws. Attach lag screws and washers as shown.
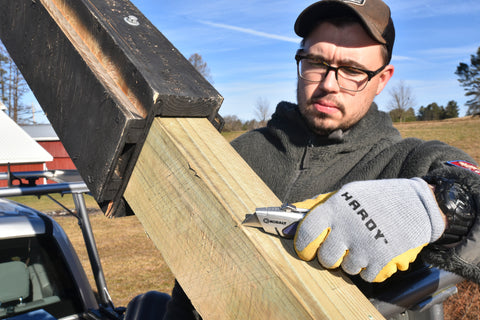
Step 6: With the remaining wooden baffle core, locate the “open” end, which has been designed to fit directly over the wooden post. Slide the baffle core over the 4x6 post until it is fully mounted, and will not slide any further onto the post.
Step 7: Locate the four small, pre-drilled holes that are used to fasten the wooden baffle core to the 4x6 post. Using these holes, fasten the wooden core directly to the 4x6 post with the provided lag screws and washers.
Step 8: Using a razor-knife or other type of straight-blade tool, create several marks along the surface of the 4x6 post, starting just under the bottom of the wooden baffle core and continuing down for approximately 8-10 inches. Don't be afraid to really make some marks on your post! The important thing is that these cuts should feel rough to the touch, as bats will use them as "hand-holds" when climbing into the rocket roost.
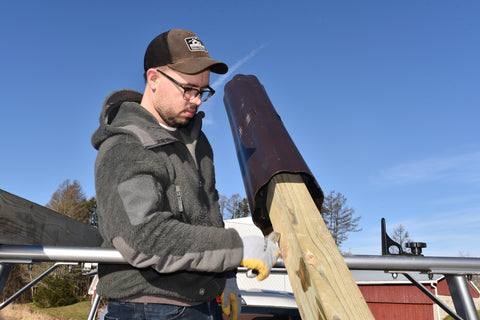
Step 9: Now that your post-scratches are complete and the wooden baffle core is tightly fastened to the 4x6 post, take the Rocket Roost outer shell and slide back over the top of the wooden baffle core. There should not be any of the wooden baffle core sticking out the bottom of the rocket box shell. The shell will provide the necessary protection for the wooden baffle core, and serve as thermal insulation for roosting bats. The shell will now remain in place and does not need any additional screws or adhesives.
If you've made it this far, you're doing great. Almost there!
Step 10: During this step, the Super Rocket Roost is going to be positioned into the posthole. Due to the weight, this step is best accomplished with the help of at least 1 other person. With the post protector toward the ground, drop the whole bat house assembly into your pre-dug hole. Protip: Although not necessary, if you have access to a pickup truck or large vehicle with a roof rack, you may be able to accomplish this step a little easier. Once your bat house assembly has been sunk into the hole and is fully in place, the rocket roost should stand (leaning) in the hole without assistance.
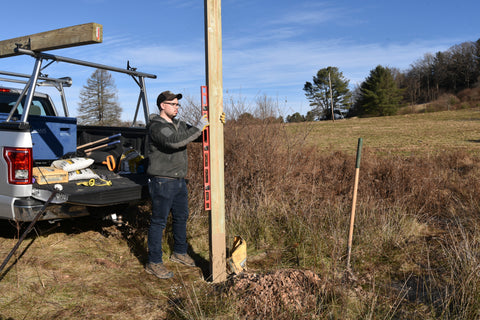
Step 11: It’s time to make sure your Rocket Roost is level. Take the extra time to check and double-check. There's nothing worse that a large crooked bat house post to break up the scenery! Using a traditional spirit level or level app on your smartphone, check all sides of the post.
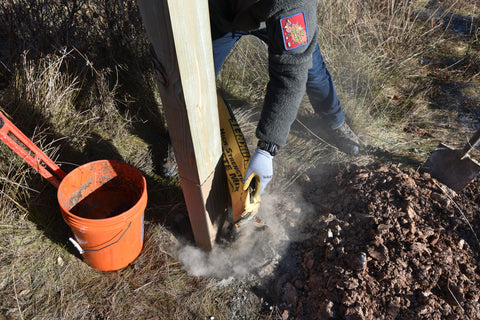
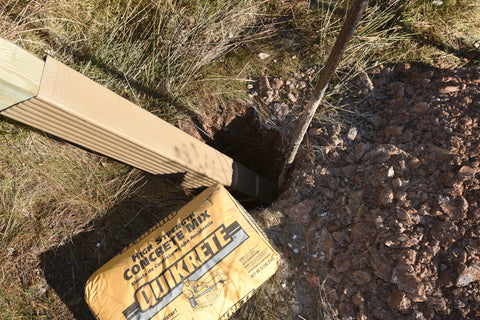
Step 12: Once satisfied with the level and your post is in place, add approximately 1 bag of Quikrete to your posthole, spreading it evenly around all sides of the pole. Depending on the size of the posthole, you may need additional bags of concrete and extra water to adequately mount the post. If unfamiliar with mixing concrete, follow the direction on the bag. As you add more concrete, the post will begin to hold its place, and more attention can be given to spreading the the mix throughout the posthole.
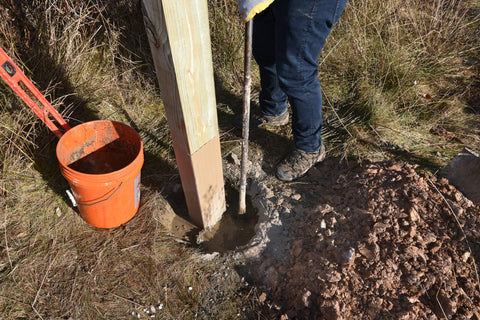
Step 13: Once the posthole has been filled, pile up and tamp down any excess dirt around the post until level with the adjacent ground, or sloping down away from the post. Most Quikrete types should set in about four hours, and fully cure in just a few days.

Step 14: That’s it! Take a step back and enjoy the sight of your new bat house!


